
NEWS CENTER
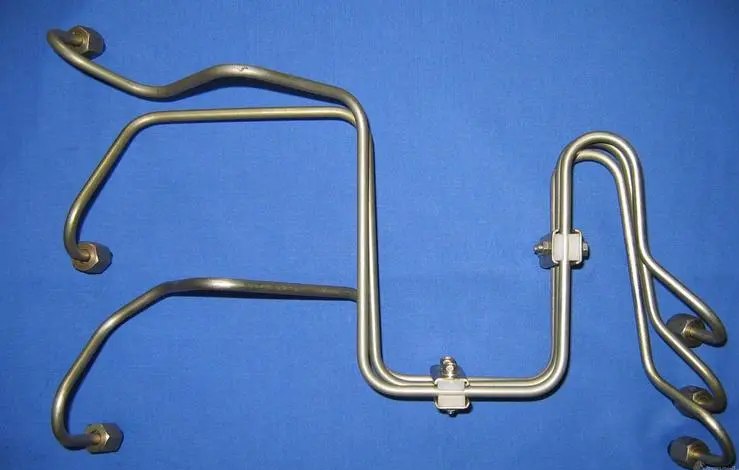
How to Construct a Hydraulic Line?
How to Construct a Hydraulic Line?
Building a hydraulic line involves several crucial steps, and adherence to recommended guidelines ensures optimal performance. Hydraulic tubes are weldable using standard techniques, with a suggested bending radius of 3 times the external tube outer diameter for cold bending using an instrument tube bender or manual hand bending. Welding filler selection should align with DIN EN 1600 and DIN EN 12072 part 1, considering welding skill sets and the application type. Constructing a hydraulic line involves assembling various components to create a system that transmits power through the use of pressurized fluid.
1. Gather Materials and Tools:
- Hydraulic hose: Select the appropriate size, type, and length of hydraulic hose based on the pressure rating and compatibility with the fluid being used.
- Fittings: Choose fittings that match the hose and the connections you need to make.
- Adapters: If necessary, select adapters to connect fittings with different thread types or sizes.
- Hose cutter: Use a hose cutter specifically designed for hydraulic hoses to ensure clean, square cuts.
- Hose assembly tool: Depending on the type of fittings used, you may need a hose assembly tool to crimp fittings onto the hose.
- Wrenches: Have the appropriate wrenches to tighten fittings securely.
2. Prepare the Hose:
- Measure and mark the hose at the desired length using a tape measure and marker.
- Use a hose cutter to cut the hose cleanly and squarely at the marked location. Ensure there are no frayed edges or debris inside the hose.
- If the hose requires any additional preparation, such as stripping the outer covering or skiving the inner layers, follow the manufacturers instructions.
3. Attach Hydraulic Line Fittings:
- Lubricate the inside of the hose and the fitting threads with hydraulic fluid to ease assembly and minimize the risk of damage.
- Insert the fitting into the hose end until it reaches the end of the hose.
- If using reusable fittings, tighten the fitting onto the hose using the appropriate wrenches.
- If using crimped fittings, position the fitting and hose assembly in the crimping machine according to the manufacturers instructions, then crimp the fitting securely onto the hose.
4. Connect Components:
- Install any additional components, such as adapters or connectors, onto the fittings as needed to connect the hydraulic line to other parts of the system.
- Ensure all connections are tight and properly sealed to prevent leaks.
5. Test the Hydraulic Assembly:
- Before putting the hydraulic line into service, conduct a pressure test to ensure the integrity of the assembly.
- Gradually increase pressure while inspecting all connections for leaks or signs of weakness.
- If any leaks or issues are detected, immediately depressurize the system and address the problem before proceeding.
6. Install Hydraulic Line and Test Secure:
- Once the hydraulic line has passed the pressure test, install it in its final location within the hydraulic system.
- Use clamps or other appropriate methods to secure the hose and prevent excessive movement or vibration.
- Ensure the hydraulic line is routed in a manner that minimizes stress and bending to prevent premature wear or failure.
7. Regular Maintenance Hydraulic Line:
- Inspect hydraulic lines regularly for signs of wear, damage, or leaks.
- Replace any worn or damaged components promptly to prevent system failure and maintain safe operation.
Or The following outlines a simple four-step process for hydraulic tube installation based on DIN 2445/2 (ST37.4) Hydraulic Steel Tubes:
Step 1: Cut the Tube
- Utilize a wheel cutter or mechanical cutting method to trim the tube to the desired length.
Step 2: Bend the Tube
- Employ a hydraulic tube bender or manual bending techniques to shape the tube according to specifications.
Step 3: Welding
- Execute the welding process, involving the weld bevel stage, selection of appropriate welding methods, and meticulous post-weld inspection to ensure quality workmanship.
Step 4: Installation
- Install the hydraulic component and connected equipment, following a clarified sequence and familiarity with the pipe scheme. Utilize a pipe clamp to mitigate tube vibration during fluid flow through the system.
Constructing a hydraulic line involves planning and designing the system based on pressure, flow rate, and fluid type, then selecting appropriate hoses or tubes and fittings. The hydraulic line is cut to size, deburred, and fitted with connectors using crimping or clamping tools. Proper routing and securing of the line avoid stress points and ensure stability. Connections are made cleanly, with thread sealant as needed, and tightened to specified torque values. The system is then pressure-tested for leaks and inspected under normal operating conditions. Regular maintenance includes periodic inspections for wear or damage and replacing components proactively.
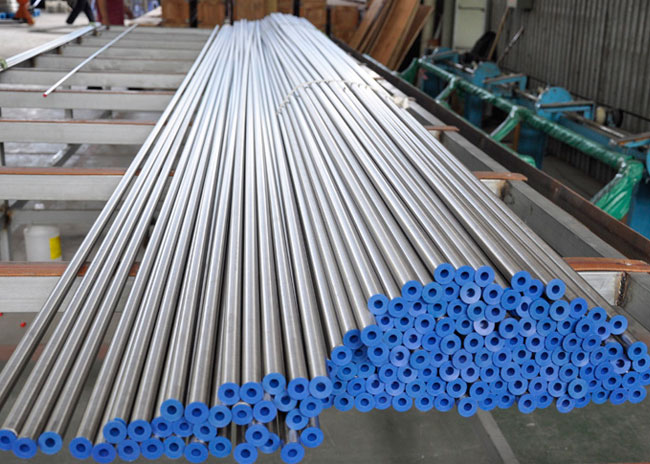
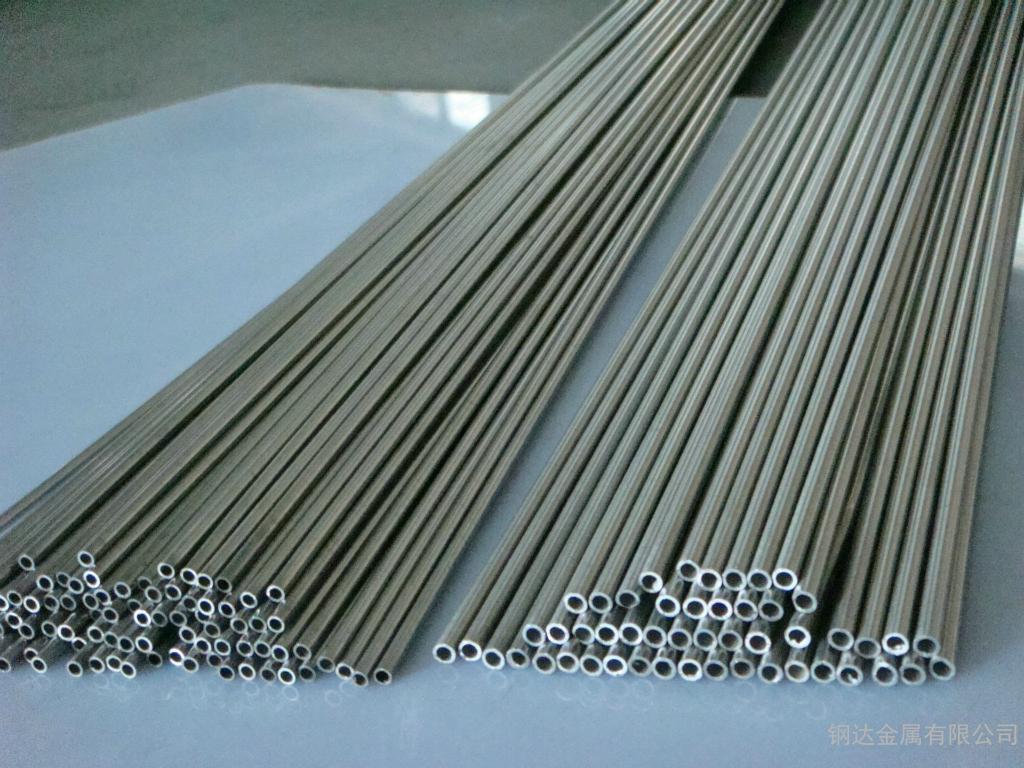
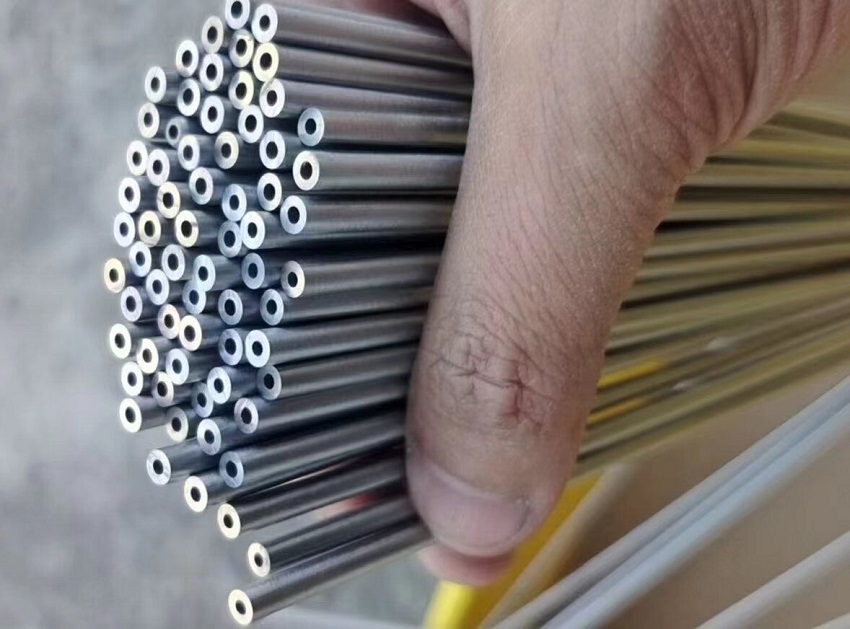
Steel Hydraulic Line


Copyright © 2015-2023 T.S. Industrial Corporation Limited Precision stainless steel tubing Stainless steel capillary tube Stainless instrument tubing Seamless hydraulic tubing Stainless hydraulic tubing Stainless steel hydraulic tubing Google-sitemap 
请输入搜索关键字
确定